Home › Chilli Growing Guide › Chapter 2
Chilli Growing Equipment and Growing Spaces
You don’t need a huge budget to grow excellent chillies, but the right kit and the right space make the UK’s short season far easier to work with.
IN THIS CHAPTER
KEY FACTS
Simple mix: 70% compost, 20% perlite, 10% horticultural grit
For early sowing: a heated propagator and LED grow light
Pots: use progressive sizes
Seedlings: strong light straight after emergence
Target pH: 6.0–6.8
Grow lights: 14–16 hours a day on a timer

1. The essential kit
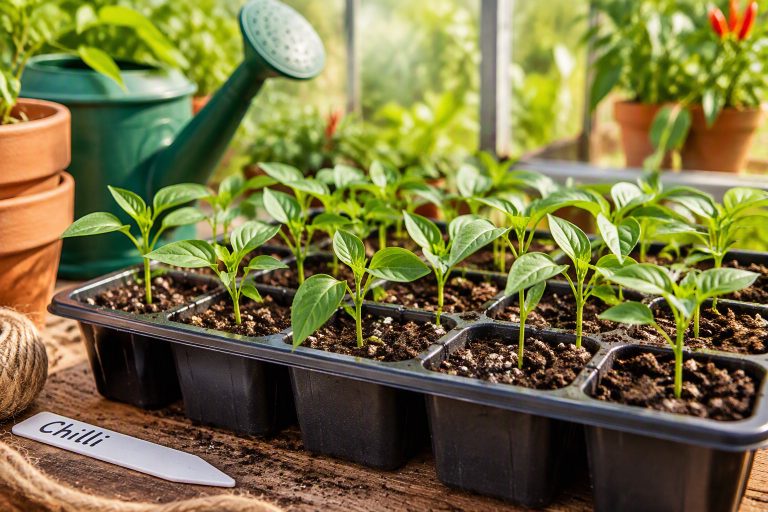
Start with good seed, waterproof labels, a permanent marker, seed trays, small pots, quality compost, a fine-rose watering can and a thermometer. For early sowing, a heated propagator and an LED grow light are well worth having. Most chillies germinate well with stable warmth, while seedlings need strong light immediately after they emerge.
For a fuller set-up, this starter checklist covers everything most growers end up using:
- Seed equipment: quality seed, cell trays, 6 cm starter pots or organic plant cubes such as Root Riot cubes.
- Precision tools: seed tweezers, waterproof labels, permanent markers and a dedicated grower’s journal.
- Climate set-up: heated propagators or heat mats, clear plastic domes or cloches, a fine mist spray bottle and a digital thermohygrometer.
- Lighting: supplementary LED grow lights or T5 fluorescent tubes on a plug-in timer set for 14–16 hours of light a day.
- Testing gear: a soil pH meter and an EC/TDS meter for precision monitoring.
Don’t forget the dark. Supplementary LEDs are valuable during the low-light months, but plants still require a regular dark period.
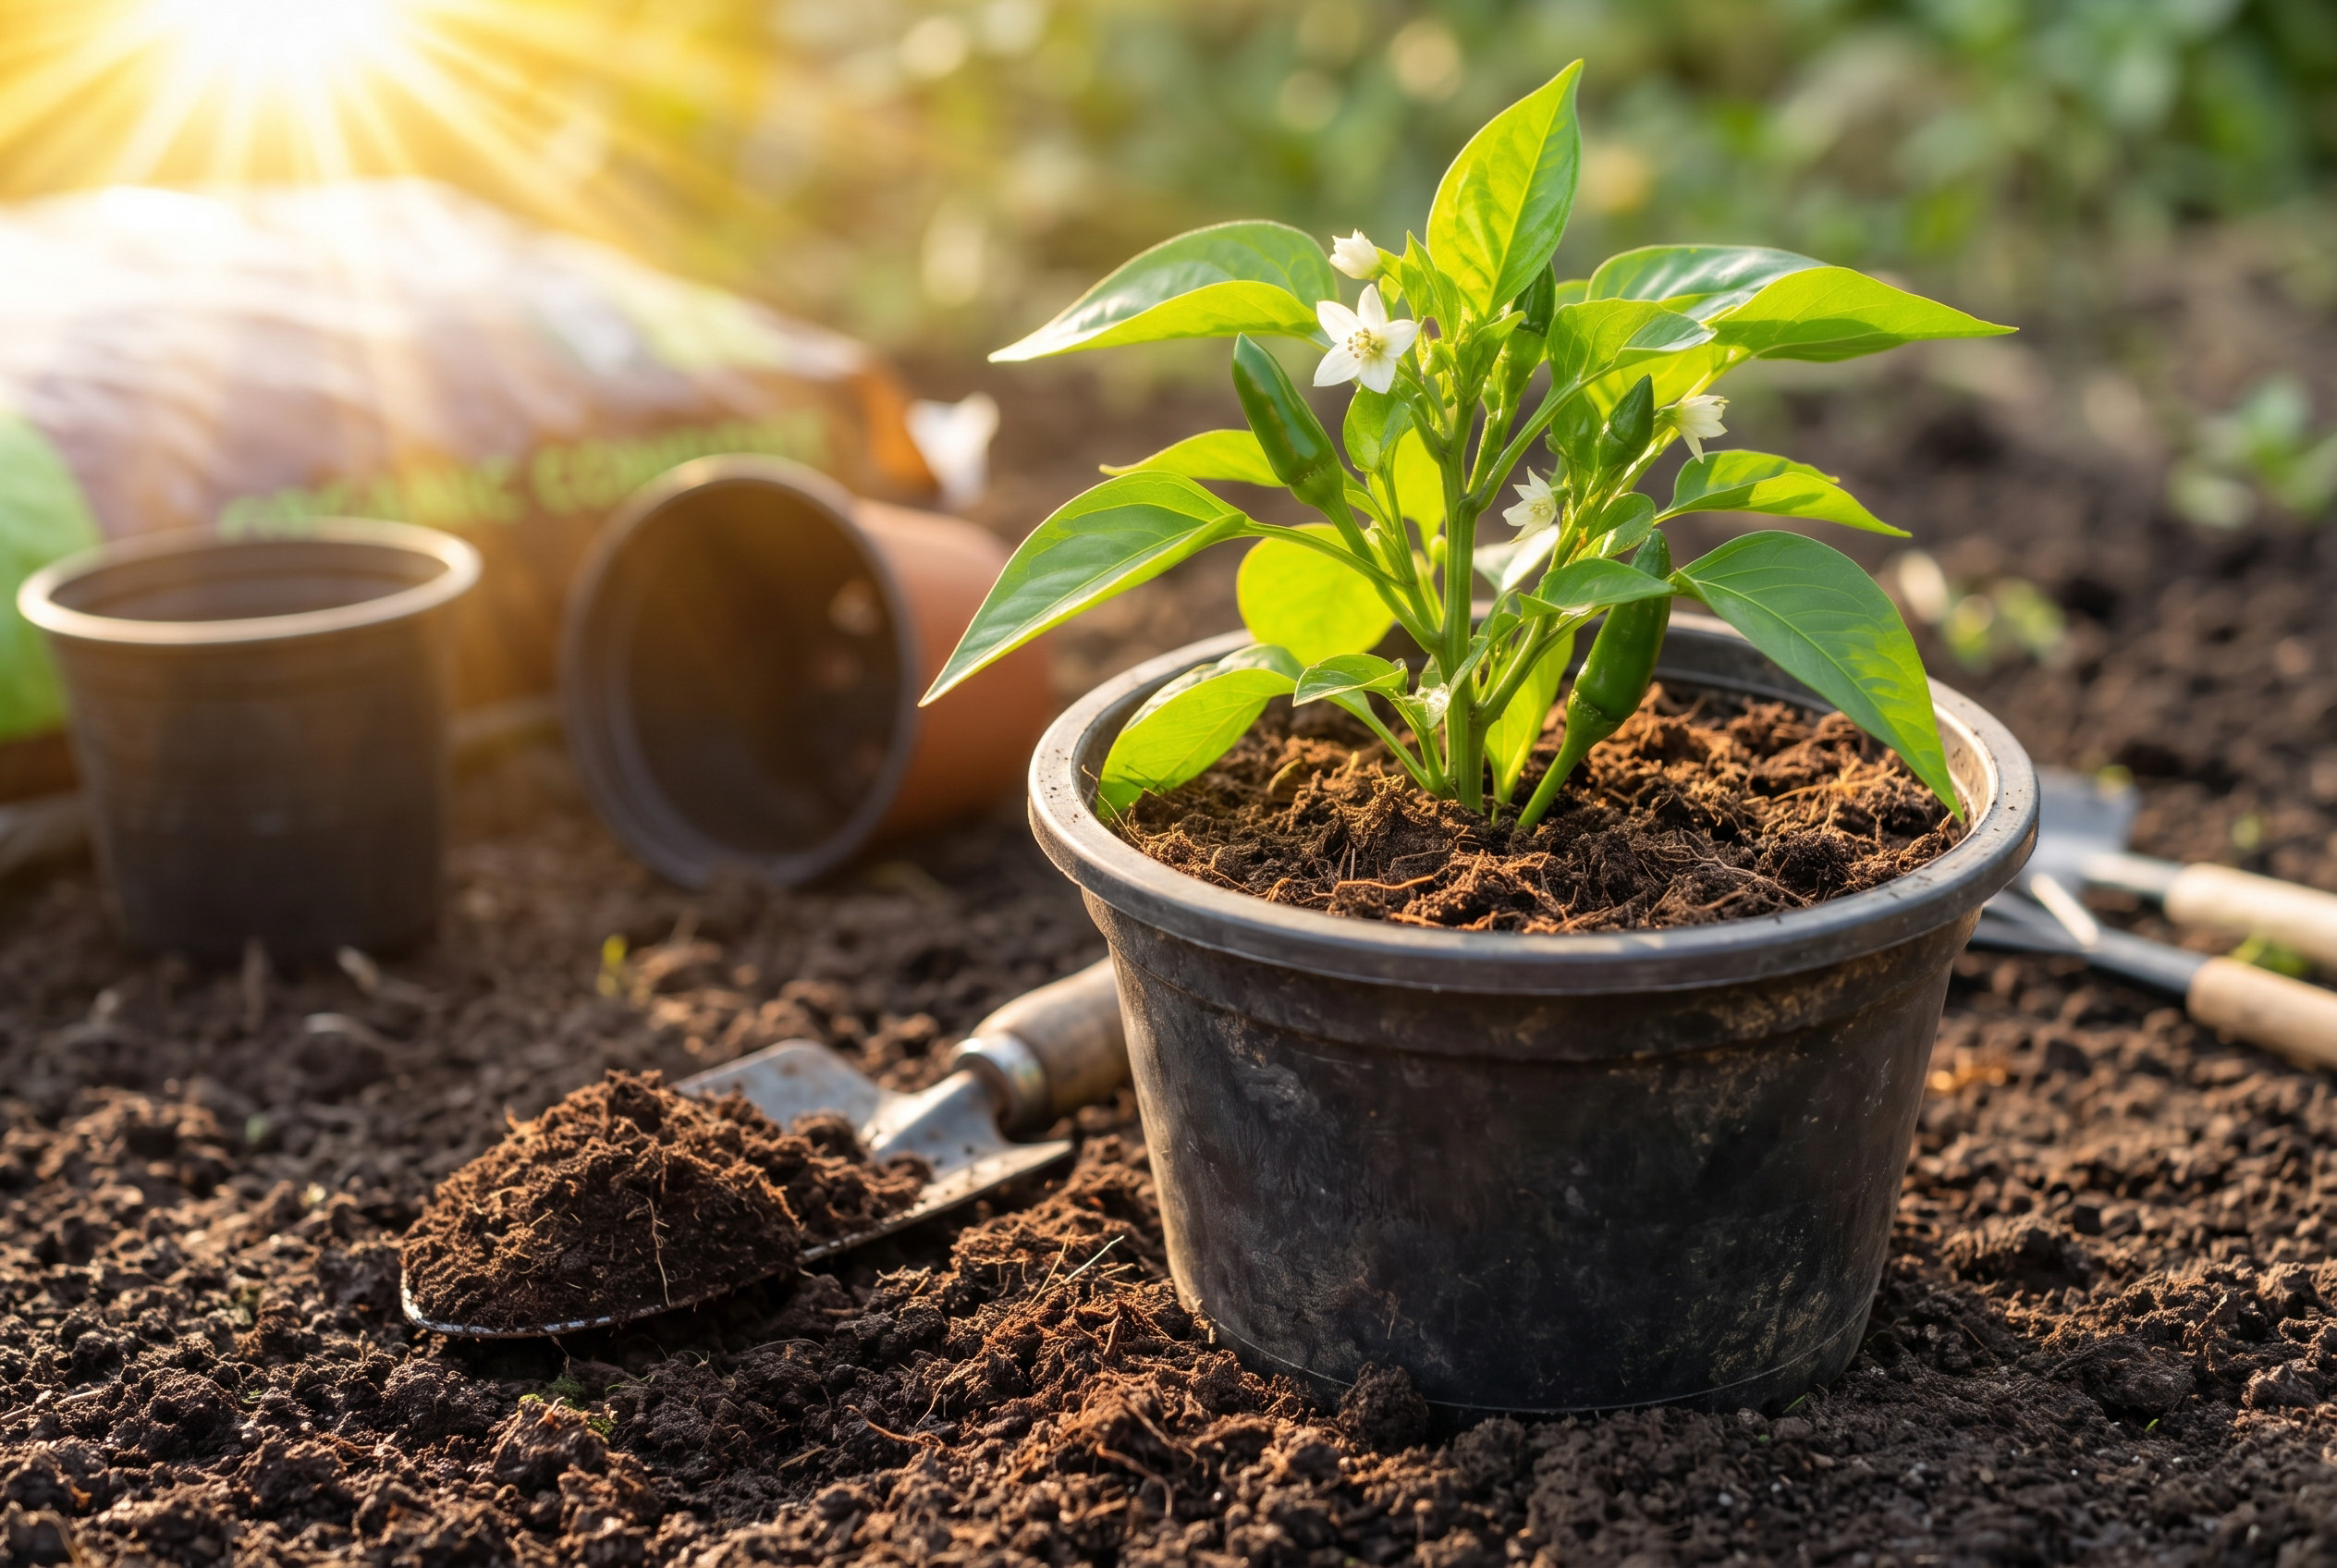
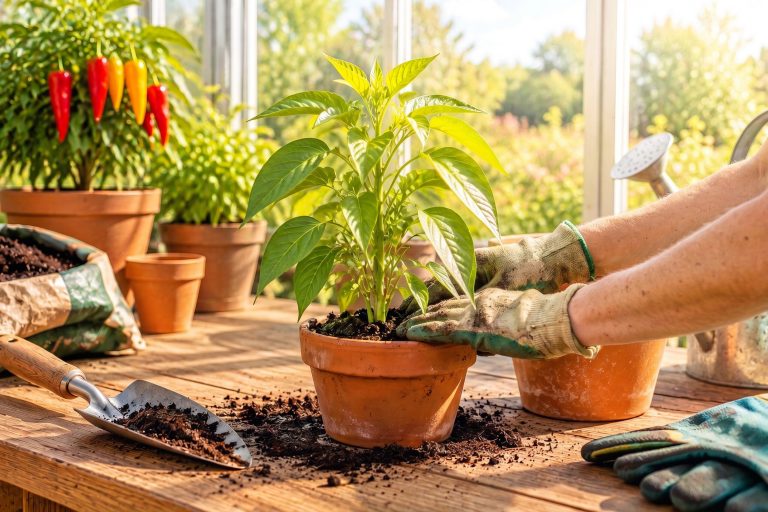
Chillies hate sitting in soggy compost: their roots need plenty of oxygen alongside balanced moisture and nutrients. Use progressive pot sizes rather than moving straight into a large container. For a quick, simple mix, combine 70% quality compost, 20% perlite and 10% horticultural grit. For a fluffier, higher-performing medium, mix these together thoroughly:
- 30–40% high-quality compost, as a well-rotted organic base
- 20–30% coco coir or peat, for water retention
- 20–30% perlite or horticultural grit, for aeration and drainage
- 10% vermiculite, which holds water and releases nutrients slowly
- 5–10% worm castings (vermicompost), for beneficial microbes and slow-release nutrition
Whichever mix you use, aim for a pH between 6.0 and 6.8, slightly acidic to neutral. If the mix is too acidic, add a touch of dolomite lime; if it is too alkaline, work in a small amount of elemental sulphur. The objectives remain the same: good drainage, plenty of aeration and enough moisture retention to keep roots supplied between waterings. For help choosing a sustainable mix, see the RHS guide to peat-free compost.
2. Choosing where to grow
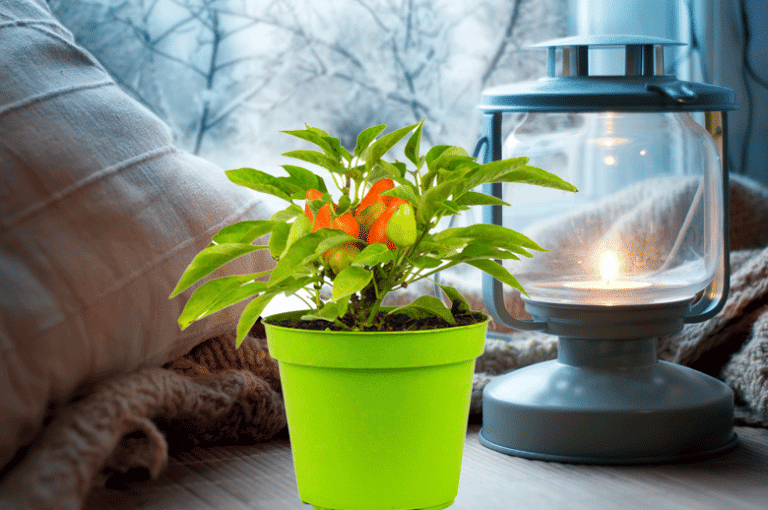
Every growing space has its strengths. Windowsills suit compact plants, while patios offer flexibility because pots can be moved to follow the sun. Conservatories give warmth but require good ventilation, greenhouses extend the season at both ends, and polytunnels make growing at scale possible. Indoor rooms offer the most control of all, but at the cost of lighting and managing the environment yourself. Many growers combine more than one, starting plants indoors and moving them to a greenhouse or patio as the season warms up.
Each space also has its own watch-points. Windowsills are ideal for compact ornamentals and for starting seeds, but watch out for cold draughts at night. Patios and balconies offer brilliant airflow and full sun, but need sturdy containers that won’t blow over in the wind. Conservatories and greenhouses trap vital heat and extend the season significantly, though you’ll need to keep an eye on ventilation in summer and hand-pollinate flowers, as fewer insects reach them.
To see how this works in practice, here are four example set-ups. A small south-facing windowsill can support compact Apache, Prairie Fire or Basket of Fire plants, given supplemental light, careful watering and modest pots. A Midlands patio grower can use mobile 7–10 litre containers against warm brickwork, combining a Jalapeño, a Cayenne, a Lemon Drop and one aromatic chinense type.
An early-start greenhouse enthusiast can use heated propagation, progressive potting, good ventilation and supported 10–15 litre plants to ripen long-season cultivars. A polytunnel favours uniformity, bed preparation and drip irrigation at scale, while indoor hydroponics favours precision and year-round control, but adds energy and monitoring costs.
WHAT SUCCESSFUL GROWERS SHARE
Whatever the set-up, successful growers keep records, examine their plants daily, protect root health, start long-season types early and adapt to conditions rather than following rules blindly.