Home › Chilli Growing Guide › Chapter 3
Seed to Seedling: Germination, Propagation and Hydroponics
The first weeks decide much of the season. This chapter covers getting seeds to sprout, growing strong young plants, and using hydroponics to win back time in the short UK season.
IN THIS CHAPTER
KEY FACTS
Seeds need: moisture, warmth and oxygen
Seedlings need: strong light, healthy roots and gentle airflow
Start feeding: once true leaves appear, at low strength
Potting on: one container size at a time
Germination: 25–30°C and 60–80% humidity
Sowing depth: about 6 mm (¼ inch)
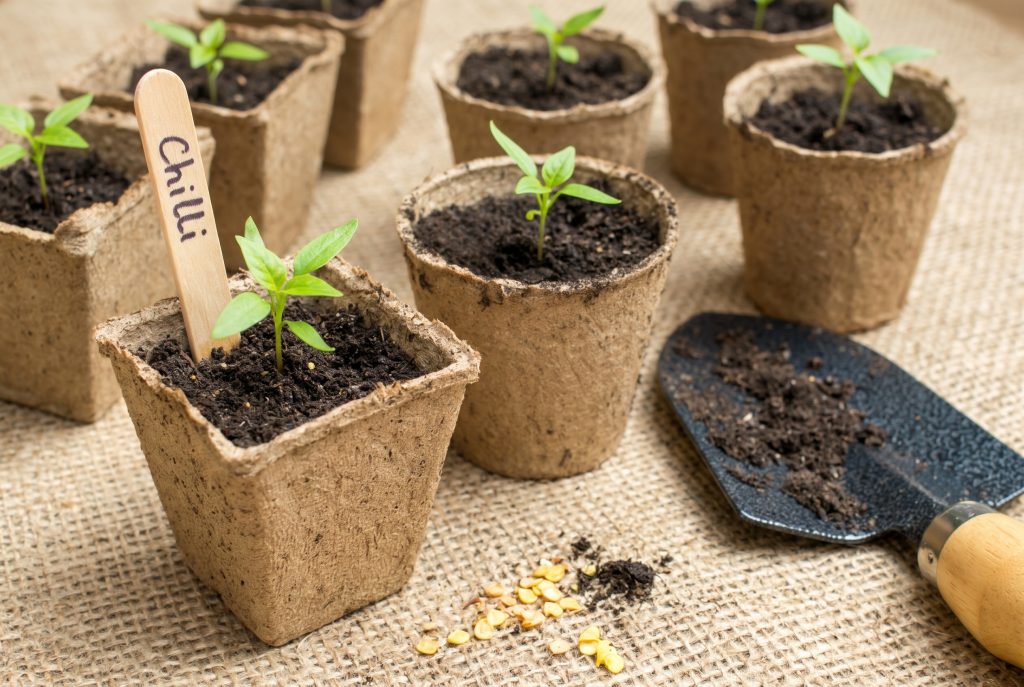
1. Germinating chilli seeds
Seeds require moisture, warmth and oxygen. Fast annuum types may emerge quickly, while chinense super-hots can be much slower, so do not discard trays prematurely. Starting indoors in January or February gives plants the long runway they need to produce heavy crops before autumn. Use fresh, reputable seed and label every batch before soaking or sowing.
Some growers use optional pre-sowing boosts. Keeping dry seed in an airtight container in the fridge for 2–3 days (cold stratification) is a grower’s trick sometimes used to wake up stubborn chinense and super-hot varieties, rather than an essential step. Soaking seed for 12–24 hours in room-temperature water, cooled weak chamomile tea (which may help deter fungal problems), dilute 3% hydrogen peroxide (about 1 fl oz per pint of water) or a coconut water or aloe vera solution can also speed up sprouting. Any scarification must be extremely gentle, and if you use potassium nitrate for dormant seed, always follow the product or seed supplier’s directions.
Then sow into a clean, free-draining medium:
- Fill seed trays, 6 cm pots or plant cubes with pre-moistened compost or seed mix.
- Use tweezers to sow 2–3 seeds per cell, about 6 mm (¼ inch) deep.
- Cover lightly with fine vermiculite or mix, and mist gently.
- Set the tray on a thermostatically controlled heat mat or in a propagator at 25–30°C.
- Keep the humidity at 60–80% with a clear dome, and keep the medium evenly damp rather than saturated.
Seeds need warmth and moisture to germinate; light is only needed once they sprout. Warmth is crucial before emergence, and strong light and airflow become crucial immediately afterwards.
Watch out for damping off. The risk rises with stagnant air, wet compost and poor hygiene. Clean equipment, controlled watering and prompt lighting are far more reliable than any rescue treatment.
CHAPTER CHECKLIST
- Label before soaking or sowing, and log each batch on your chilli sowing record sheet.
- Keep the medium damp, not saturated.
- Move emerged seedlings into strong light immediately.
2. Raising strong young plants
Seedlings have three priorities: strong light, healthy roots and gentle airflow. Compact growth, short internodes, thickening stems and clean white roots all show good progress. Water according to the weight of the pot and the condition of the compost, not a rigid calendar; bottom watering can reduce disturbance. Begin feeding only once true leaves and active growth appear, starting with a dilute solution before increasing the strength.
The moment seedlings emerge, their needs change completely. Move them under bright lights straight away, about 10–15 cm above the leaves for fluorescent tubes or 15–30 cm for LEDs, or onto a warm, sunny windowsill, to stop them stretching and becoming long, weak and leggy. Open the propagator vents and remove covers gradually to lower the humidity, and set a small oscillating fan to blow a gentle breeze across the seedlings: the movement builds thick, sturdy stems. To bottom-water, stand pots in a shallow tray of water for about 15 minutes; this encourages roots to grow deep and keeps the delicate stem base dry, which helps prevent damping off.
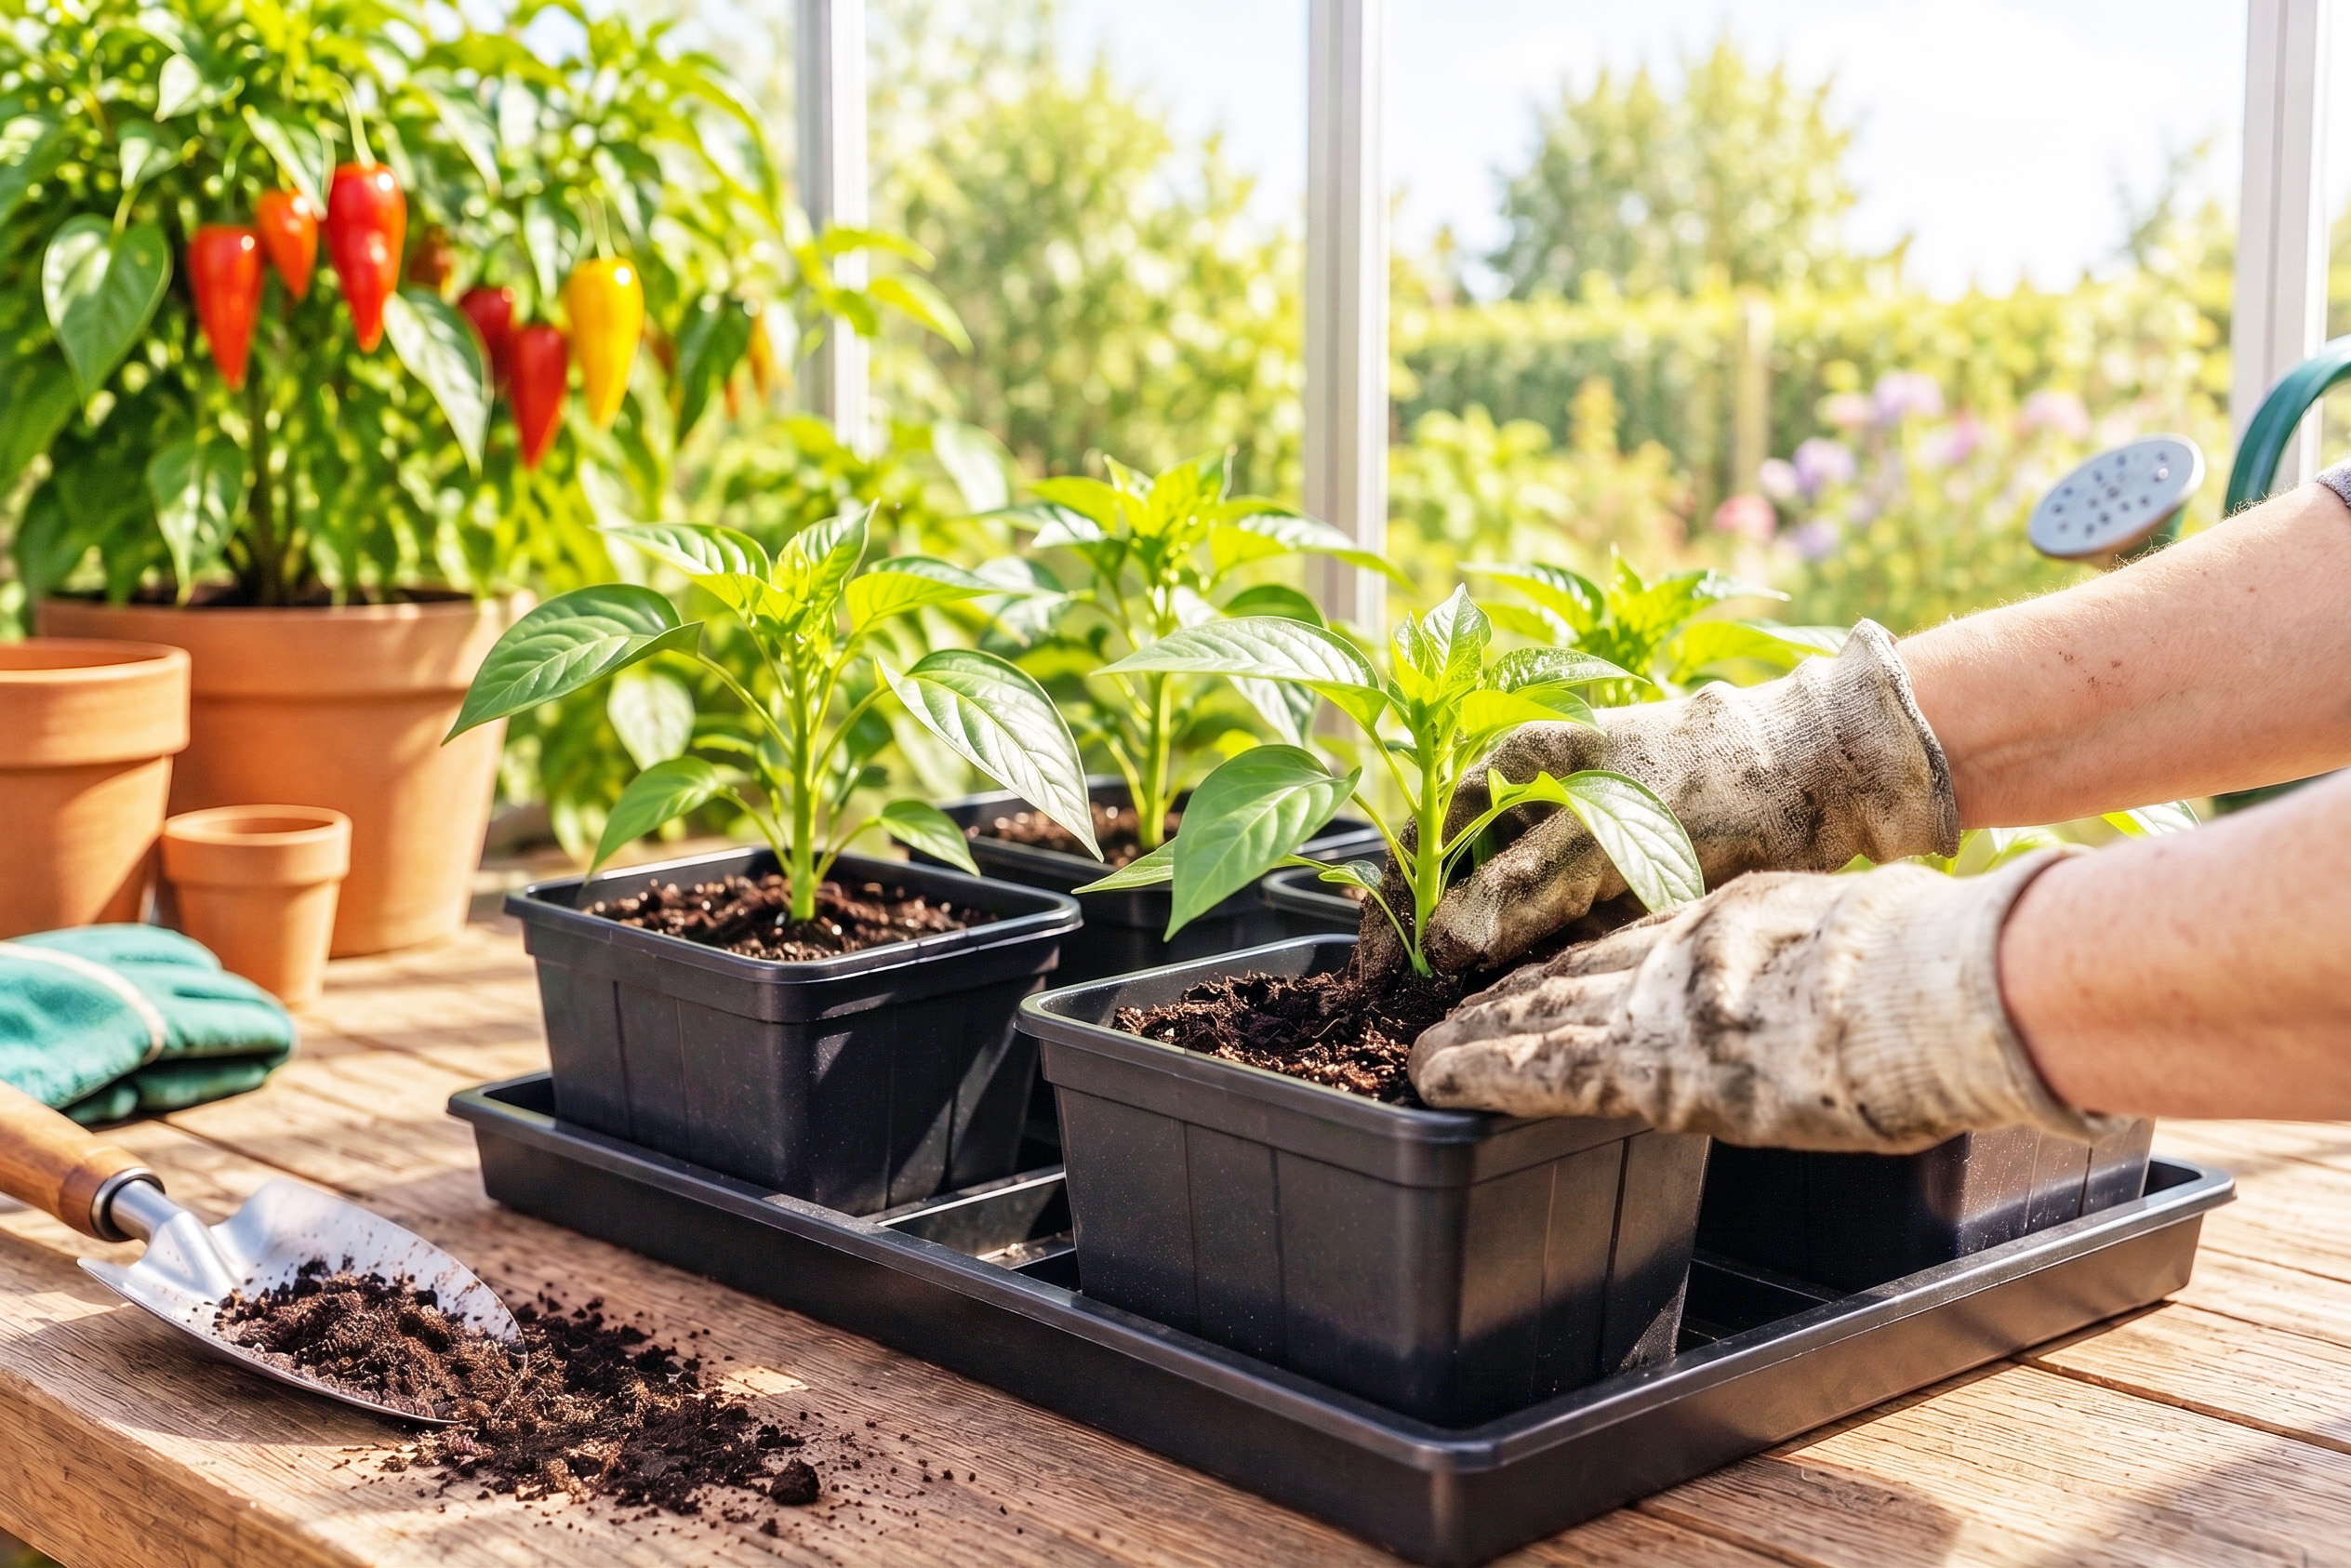
Move plants up one container size at a time once roots reach the drainage holes or the pot dries out unusually quickly, and always handle them by the leaves or root ball rather than the fragile stem. Topping is optional but can produce a bushier, sturdier plant with more fruiting branches: once the plant has 6–8 sets of leaves, pinch out the top 1–2 cm of the main stem. This pauses upward growth for a while and forces the side buds to shoot. Removing the very first flower buds on young plants under 20–25 cm tall also helps, diverting energy back into roots and stems for a larger crop later in summer.
3. Speeding things up with hydroponics
Hydroponic propagation can accelerate early growth by delivering water, oxygen and nutrients directly to the roots, which is particularly useful when the short UK season makes every spring week valuable. Simple set-ups such as deep water culture (DWC), nutrient film technique (NFT) or compact indoor smart gardens all work well as nurseries, and healthy hydroponic roots should be bright white, branching and fibrous.
Use a weak seedling nutrient solution, keep the pH between 5.5 and 6.5 and follow the manufacturer’s EC guidance. Block all light from the reservoir to prevent algae, keep equipment clean and refresh the solution regularly; lighting remains just as important as it is in compost. Move plants into compost once they have several sets of true leaves, a strong root system and active growth. Hydroponics is useful but not essential; its purpose is acceleration, not unnecessary complexity.