Home › Chilli Growing Guide › Chapter 4
Potting On, Hardening Off and Final Containers for Chillies
Moving plants into bigger pots, preparing them for the outdoors and choosing their final home are the steps that turn seedlings into productive plants.
IN THIS CHAPTER
KEY FACTS
Potting sequence: 6 cm cell → 7–9 cm pot → 1–2 litres → final container
Hardening off: 7–14 days, once nights stay above 10°C
Final pots: 5–7 L dwarf, 7–10 L annuum, 10–20 L chinense, 20–30+ L specimens
Every container: needs unobstructed drainage

1. Transplanting and potting on
Transplant when the plant holds a stable root ball, has several true leaves and is actively growing. Healthy roots are pale and fibrous; dark, soft or foul-smelling roots need attention first. Prepare the labelled pot, ease out the root ball without pulling the stem, set the plant at roughly its existing depth, backfill without compacting heavily and water to settle the compost.
Afterwards, give moderate light, stable warmth and shelter from strong wind for several days. A brief pause in top growth is normal while the roots colonise the new compost.
Never jump straight from a tiny seedling cell into a large final pot: oversized pots hold too much water, which chills the compost and suffocates young roots. Instead, move plants up in four steps, which makes moisture easier to manage and encourages an efficient root structure:
- Starter cell, plant cube or 6 cm pot for germination and early growth.
- A 7–9 cm pot once seedlings have 2–3 sets of true leaves. Always lift seedlings gently by their leaves, never by the fragile stem.
- An intermediate 10–15 cm (1–2 litre) pot when roots appear at the drainage holes or the top growth reaches 20–30 cm.
- The final container, sized to suit the variety (see below).
2. Hardening off for outdoor life
Indoor plants are pampered. Leaves and stems grown indoors are not prepared for direct sun, wind, rain or large temperature swings, so before moving plants outdoors you need to help them build a thicker, waxy cuticle. Gradual exposure thickens the leaves, strengthens the stems and improves water regulation. Allow 7–14 days, and start only when night temperatures stay reliably above 10°C:
| Days | What to do |
|---|---|
| 1–3 | Place plants outside in full shade and complete shelter from wind for 1–2 hours, then bring them back inside. |
| 4–7 | Add an hour each day and slowly introduce gentle morning sun. |
| 8–10 | Expose plants to partial afternoon sun and gentle breezes. Stake taller plants with canes and soft ties to stop stems snapping. |
| 11–14 | Leave plants out overnight if no sudden temperature drops or frosts are forecast. |
Protect from frost. Only trial an overnight stay outdoors when conditions are reliably mild and frost-free.
Watch how the plants respond. Bleached, papery white patches on the leaves are sunscald, a sign of too much direct sun too quickly, while severe wilting suggests too much exposure or water stress. If you see either, move plants back into shade and slow the schedule down rather than forcing it. Timing also differs between southern England, the Midlands, northern England, Scotland and exposed coastal or upland sites, so the forecast and your own conditions matter more than a fixed date. For background on regional differences, see the Met Office explanation of late spring frosts.
CHAPTER CHECKLIST
- Begin in shade.
- Increase sunlight and wind gradually.
- Protect from frost and cold nights.
3. Final pots and positions

Choose the final container to suit the variety:
- 5–7 litres: compact dwarf and ornamental types.
- 7–10 litres: standard C. annuum such as Jalapeño, Serrano and Cayenne.
- 10–20 litres: larger C. chinense, C. baccatum and Rocotos.
- 20–30+ litres: large specimen super-hots and long-term, overwintered plants.
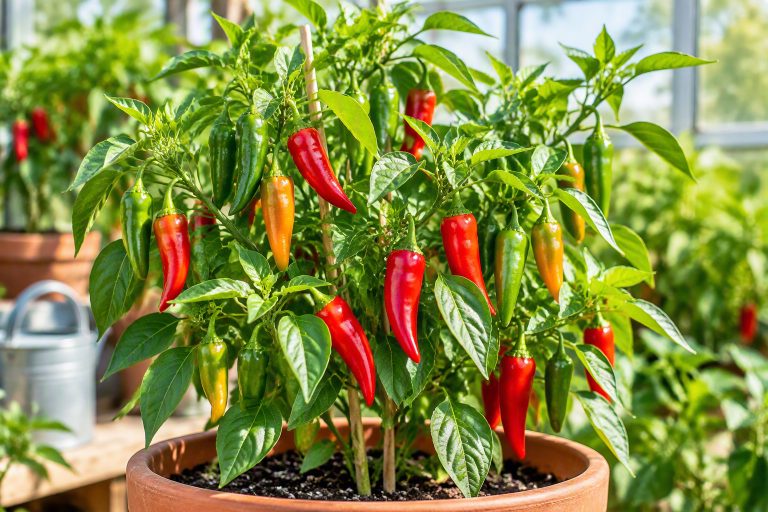
Bigger is only useful while watering and aeration remain manageable. Plastic retains moisture, fabric improves air pruning but dries faster, and terracotta is attractive but heavy and porous. Whatever you choose, every container needs unobstructed drainage.
Position plants to make the most of sun and warmth while keeping air moving; a south-facing brick wall can form a useful microclimate. Avoid overcrowding, which limits light and raises humidity. After final potting, let the roots establish before pushing the plant with strong feed. New leaves and vigorous shoots are the sign that the roots are settling in.